Search Results
30 items found for ""
- ATEM Mini Pro Bundle - Unboxing and first thoughts!
The all-new ATEM Mini Pro is out! This will be the first of many videos on this beautiful device. There are so many features packed into this small device and some great software to work with it. Atem Mini Pro: https://amzn.to/3uzr3p2 Check out my website at http://mcfixit.us
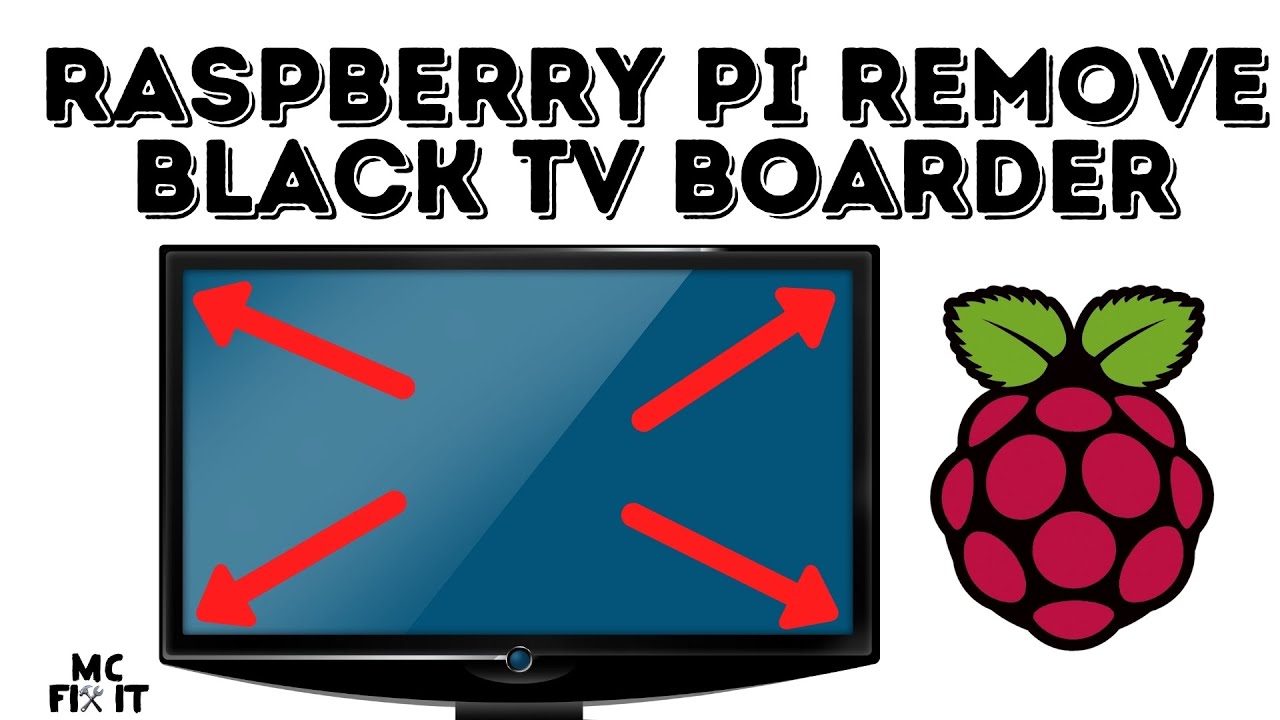
- Rapsberry Pi 3 Remove Black Border for TV
Need to fill your screen and remove that black border on your TV? Then you need to try this method! Raspberry Pi 3 kit - https://amzn.to/3uD00t4 Open Terminal: Alt+Control+T Remove # from #disable_overscan=1 Then change the 1 to a 0. It should look like this: disable_overscan=0 Next, scroll down and change the Overscan by removing the # and changing the numbers to this: overscan_left=-10 overscan_right=-10 overscan_top=-30 overscan_bottom=-30 Exit by pressing Control+X Press Y to save Then press Enter Reboot system... now you have a full screen for your TV! Check out my website at http://mcfixit.us Note: if you still are showing a black border or missing some of the screen. Change the numbers up and down depending on what you need! The lower (or negative) a number is the bigger the displayed area will be. The higher (or positive) a number is the smaller the displayed area will be. Thanks for watching! Like and subscribe! Disclaimer: Due to factors beyond the control of MC FIX IT, I cannot guarantee against improper use or unauthorized modifications of this information in the video, post, blog, or social media. MC FIX IT assumes no liability for property damage or injury incurred as a result of any of the information contained in this video. Use this information at your own risk. If you feel uncomfortable at any time. Stop and go to a professional. MC FIX IT recommends safe practices when working on vehicles, your house, or any other project and or with tools seen or implied in this video. Due to factors beyond the control of MC FIX IT, no information contained in this video shall create any expressed or implied warranty or guarantee of any particular result. Any injury, damage, or loss that may result from improper use of these tools, equipment, or from the information contained in this video is the sole responsibility of the user and not MC FIX IT.
- Radio & Temperature Controls Removal for 2003 Kia Rio
Learn how to remove Radio & Temperature controls on a 2003 Kia Rio. Tools: * Plastic Panel Removal - https://amzn.to/33sHmYC * Philips Screwdriver - https://amzn.to/3hdpzx0 * Flat Head Screwdriver - https://amzn.to/2RAjTlU This video will show you step by step how to remove your radio/cd player (head unit) and your temperature control gauges. This video should be similar to other Rios from 2000-2005. Check out my website at http://mcfixit.us Disclaimer: Due to factors beyond the control of MC FIX IT, I cannot guarantee against improper use or unauthorized modifications of this information in the video, post, blog, or social media. MC FIX IT assumes no liability for property damage or injury incurred as a result of any of the information contained in this video. Use this information at your own risk. If you feel uncomfortable at any time. Stop and go to a professional. MC FIX IT recommends safe practices when working on vehicles, your house, or any other project and or with tools seen or implied in this video. Due to factors beyond the control of MC FIX IT, no information contained in this video shall create any expressed or implied warranty or guarantee of any particular result. Any injury, damage, or loss that may result from improper use of these tools, equipment, or from the information contained in this video is the sole responsibility of the user and not MC FIX IT.
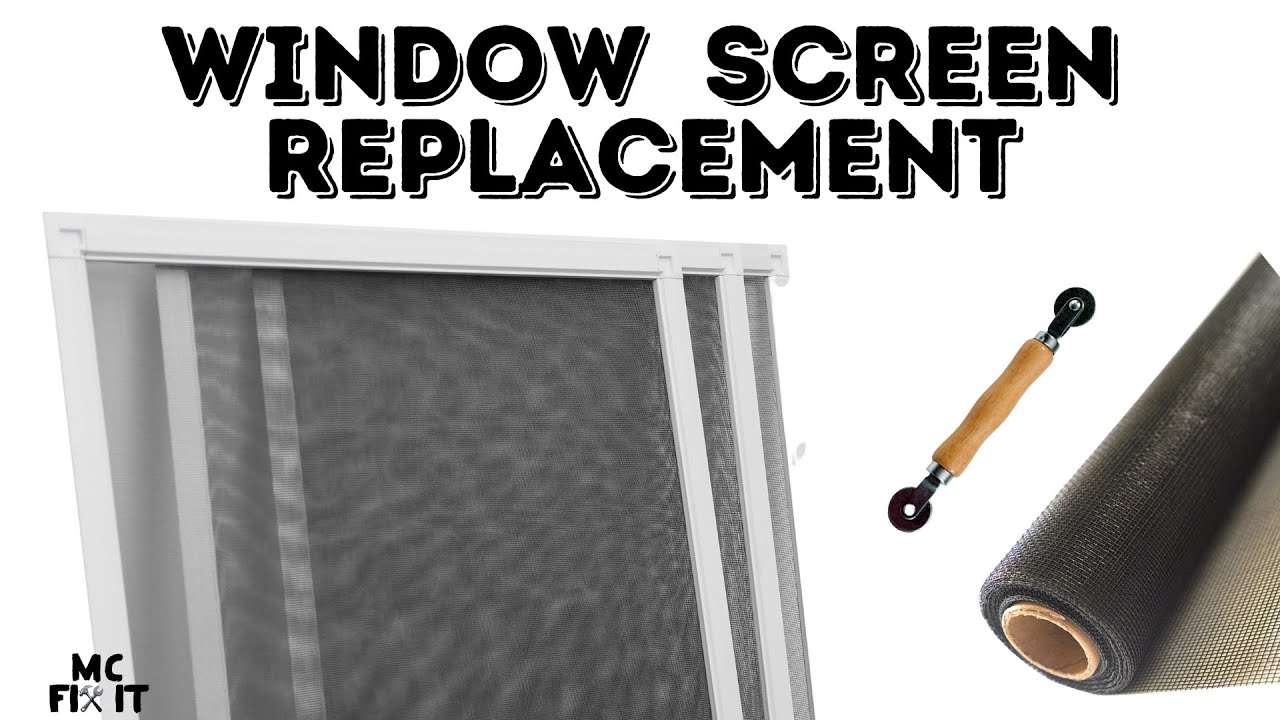
- How to Replace Screen on Window
This video describes how you can simply replace a torn screen for a window. The tools you need: 1. Spline tool - https://amzn.to/33qKy7k 2. Razor blade (or scissors may work) - https://amzn.to/2StsW8q 3. New Spline - https://amzn.to/33x4epY 4. New Screen - https://amzn.to/3uEMPYE Check out my website at http://mcfixit.us Disclaimer: Due to factors beyond the control of MC FIX IT, I cannot guarantee against improper use or unauthorized modifications of this information in the video, post, blog, or social media. MC FIX IT assumes no liability for property damage or injury incurred as a result of any of the information contained in this video. Use this information at your own risk. If you feel uncomfortable at any time. Stop and go to a professional. MC FIX IT recommends safe practices when working on vehicles, your house, or any other project and or with tools seen or implied in this video. Due to factors beyond the control of MC FIX IT, no information contained in this video shall create any expressed or implied warranty or guarantee of any particular result. Any injury, damage, or loss that may result from improper use of these tools, equipment, or from the information contained in this video is the sole responsibility of the user and not MC FIX IT.
- 2008 Lincoln MKZ Serpentine / Drive Belt Replacement
This video is of a 2008 Lincoln MKZ. It should be similar to year around it and also the Zephyr, Milan, and Fusion. It should work on years 2007, 2008, 2009, and 2010 (or at least similar). Disclaimer: do this repair/replace at your own risk. Be careful, use your brain, and get back on the road safely! This video is only a guide to help you. If you feel uncomfortable at any part, stop, ask for help or go to a professional. Tools: 1. Car Jack or floor jack - https://amzn.to/2R7G96H 2. Jack stands - https://amzn.to/3f3ABC5 3. Serpentine Belt Tool - https://amzn.to/3vQIGkn 4. Flathead screwdriver - https://amzn.to/2RAjTlU 5. Trim tool/Ancor remover - https://amzn.to/3f0bUXe 6. Tire iron (or 19mm socket + impact gun) - https://amzn.to/3vVDUBZ , https://amzn.to/3etXiQU 7. Wood block or similar 8. A new serpentine belt (we used a Motorcraft part# JK6-455-D) - https://www.google.com/search?q=JK6-455-D&oq=JK6-455-D&aqs=chrome..69i57.1109j0j7&sourceid=chrome&ie=UTF-8 Removal Instruction: 1. Put the parking brake on 2. Block off the rear tires with a wood block (I used a 4x4) 3. Pop hood on car and use support bar to hold up 4. Go to front right (passenger) tire 5. Remove plastic wheel cover with a flathead screwdriver 6. Brake loose lug nuts (do not take off) 7. Begin raising the car up with floor jack 8. Place support jacks under the car in the proper location (see manual - there are indentations) 9. Remove lugs nuts 10. Remove tire 11. Use trim tool & flathead screwdriver to remove four plastic shroud anchors 12. Have someone else on the top of the car, use Serpentine Belt Tool to put in the opening of the tensioner puller 13. Pull Serpentine Belt Tool towards the front bumper 14. Carefully remove the belt from one of the pulleys on the bottom 15. Compare old and new belt (part #JK6-455-D). Make sure they are the same size Replacement of Belt Instructions: 1. Begin putting the new belt over each pulley you removed the old one from (except the tensioner pulley) 2. Once all of the v-belt grooves are in the pulleys, have someone pull the belt tensioner back towards to the bumper and slowly put on back of the belt on the smooth pulley tensioner 3. Slowly let the tensioner pull the belt tight 4. Make sure everything is lined up so the belt doesn't get thrown 5. Test belt - start the engine and listen. It should not squeal, if it does either your belt is not aligned or it's the wrong size belt. Putting it all back together instructions: 1. Put back on plastic shroud 2. Put on the 4 anchors 3. Put tire back on 4. Begin hand tightening the lug nuts 5. Tighten lug nuts down firmly (tire iron or to spec with impact gun) 6. Remove support jacks 7. Lower down car slowly 8. Tighten lug nuts to spec 9. Remove wood blocks 10. Release parking brake 11. Get back on the road Check out my website at http://mcfixit.us If these instructions helped you, please "like" and "subscribe." Have a question, ask it below! Disclaimer: Due to factors beyond the control of MC FIX IT, I cannot guarantee against improper use or unauthorized modifications of this information in the video, post, blog, or social media. MC FIX IT assumes no liability for property damage or injury incurred as a result of any of the information contained in this video. Use this information at your own risk. If you feel uncomfortable at any time. Stop and go to a professional. MC FIX IT recommends safe practices when working on vehicles, your house, or any other project and or with tools seen or implied in this video. Due to factors beyond the control of MC FIX IT, no information contained in this video shall create any expressed or implied warranty or guarantee of any particular result. Any injury, damage, or loss that may result from improper use of these tools, equipment, or from the information contained in this video is the sole responsibility of the user and not MC FIX IT. #mkz #serpentinebelt #mcfixit
- How to Replace a Heating Element in a Maytag Centennial Dryer MEDC300XW0 [Complete Guide]
Find out how to install a heating element in a Maytag Centennial Dryer! This should work on Whirlpool Maytag Jenn-Air Washers - Replaces How to Replace a Heating Element in a Maytag Centennial Dryer MEDC300XW0 The Tools & Supplies: * Heating Element for Maytag MEDC300XW0 from Geniune Replacement Parts - https://www.genuinereplacementparts.com/maytag-medc300xw0-heating-element-240v-genuine-oem * 1/4 in Nut Driver - https://amzn.to/3dKnIjn * Flathead Screwdriver - https://amzn.to/3puCo8Z Chapters: 00:00 Intro 00:07 The Problem 00:46 Model Number 01:03 The Tools & Supplies 02:18 The Fix 03:03 Remove Back Cover 03:43 Remove Old Heating Element 04:30 Install New Heating Element 06:20 Reinstall Back Cover 06:57 Reinstall Vent & Plug-In 8:07 Test 8:22 Test Passed! This video was done with a Maytag Centinnel Dryer but should be the same process for any other brands and makes like Whirlpool Kenmore Roper Maytag Amana Cabrio Admiral Dryer - Admiral AED4675YQ0 Maytag MEDC300XW0 Sears 11060212990 LEC7646DQ0 Dryers With heating element replacement for numbers: 279837, 279838, 279838A, 279838VP, 3398064, 3403585, 8565582, AP3094254, W10724237; 3387134 Check out my website at http://mcfixit.us Disclaimer: Due to factors beyond the control of MC FIX IT, I cannot guarantee against improper use or unauthorized modifications of this information in the video, post, blog, or social media. MC FIX IT assumes no liability for property damage or injury incurred as a result of any of the information contained in this video. Use this information at your own risk. If you feel uncomfortable at any time. Stop and go to a professional. MC FIX IT recommends safe practices when working on vehicles, your house, or any other project and or with tools seen or implied in this video. Due to factors beyond the control of MC FIX IT, no information contained in this video shall create any expressed or implied warranty or guarantee of any particular result. Any injury, damage, or loss that may result from improper use of these tools, equipment, or from the information contained in this video is the sole responsibility of the user and not MC FIX IT.


![How to Replace a Heating Element in a Maytag Centennial Dryer MEDC300XW0 [Complete Guide]](https://i.ytimg.com/vi/nIVGXpXQA3Q/maxresdefault.jpg)